Not sure how to get a scannable QR code onto a physical label without it coming out blurry or too small to read? A poorly printed code means wasted labels and missed customer interactions. This guide covers every step – from generating your code to setting the right print specs – so your labels work every time.
Generate Your QR Code First
Before you touch a printer, you need a properly generated QR code. The format and settings you choose at this stage determine whether the final print is sharp and scannable or a pixelated mess.
Use a tool like the Pageloot QR code generator to create your code in a vector format such as SVG or EPS. These formats scale to any size without losing sharpness – unlike a low-resolution PNG, which will degrade when enlarged on a label. If you specifically need a PNG (for example, to overlay the code on a design in Canva or Photoshop), use the PNG QR code generator and export at the highest available resolution.
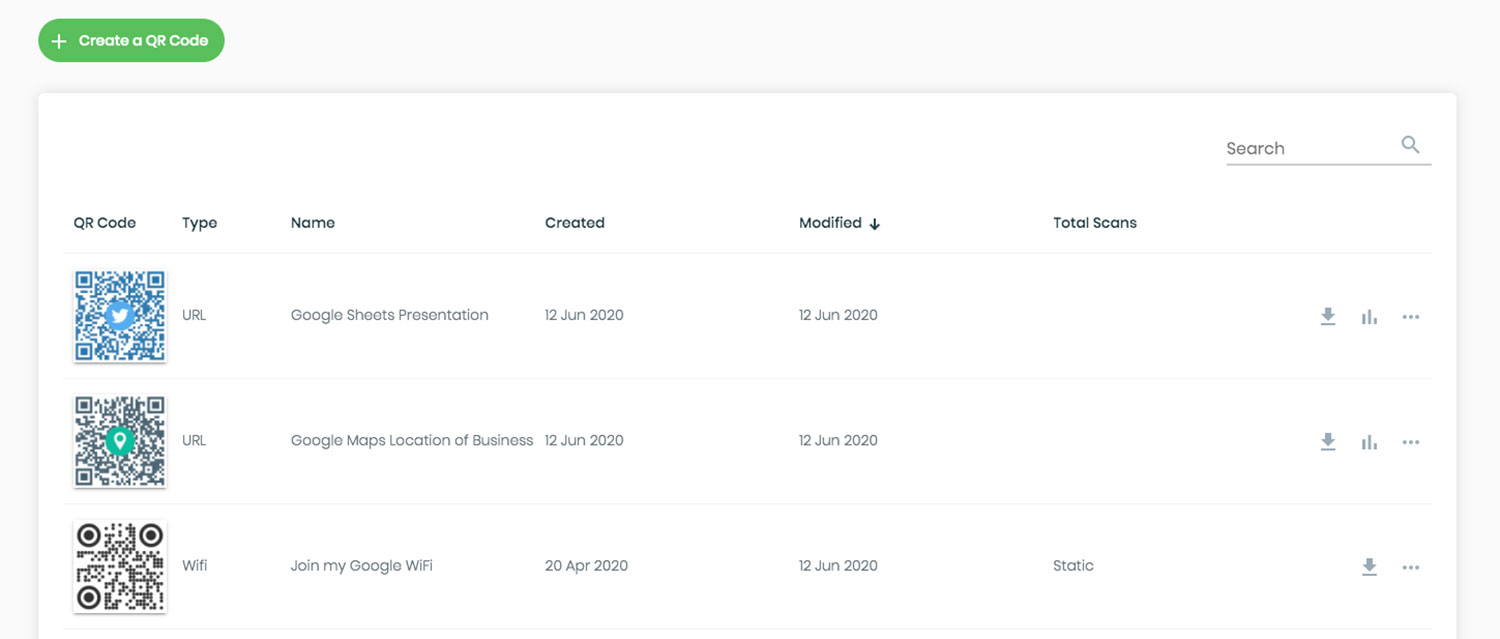
One practical decision to make at this stage: choose a dynamic QR code rather than a static one. A dynamic code stores a short redirect URL that points to your actual destination, keeping the code itself less data-dense and easier to scan. Crucially, you can update the linked content or destination URL after the code has been printed without reprinting your labels – a significant advantage if your product pages, menus, or promotions change over time.
Create a Label-Ready QR Code in Minutes Need a print-ready QR code you can update without reprinting? Use the Pageloot QR Code Generator to generate dynamic, vector-quality codes customized with your brand colors and logo.
Set the Right Size for Your Label
Size is one of the most common reasons a printed QR code fails to scan. Too small, and a smartphone camera simply cannot resolve the individual modules (the small squares that make up the code pattern).
The reliable rule of thumb is the 10:1 scanning distance ratio: your QR code should be at least 1/10th the distance from which it will be scanned. If a customer holds their phone about 10 inches from a product label, the code needs to be at least 1 inch wide. The recommended minimum size for a printed QR code is 3 × 3 cm (1.2 × 1.2 inches) for most label applications, though a compact label like a business card can work at 0.8 × 0.8 inches if scanning conditions are ideal.
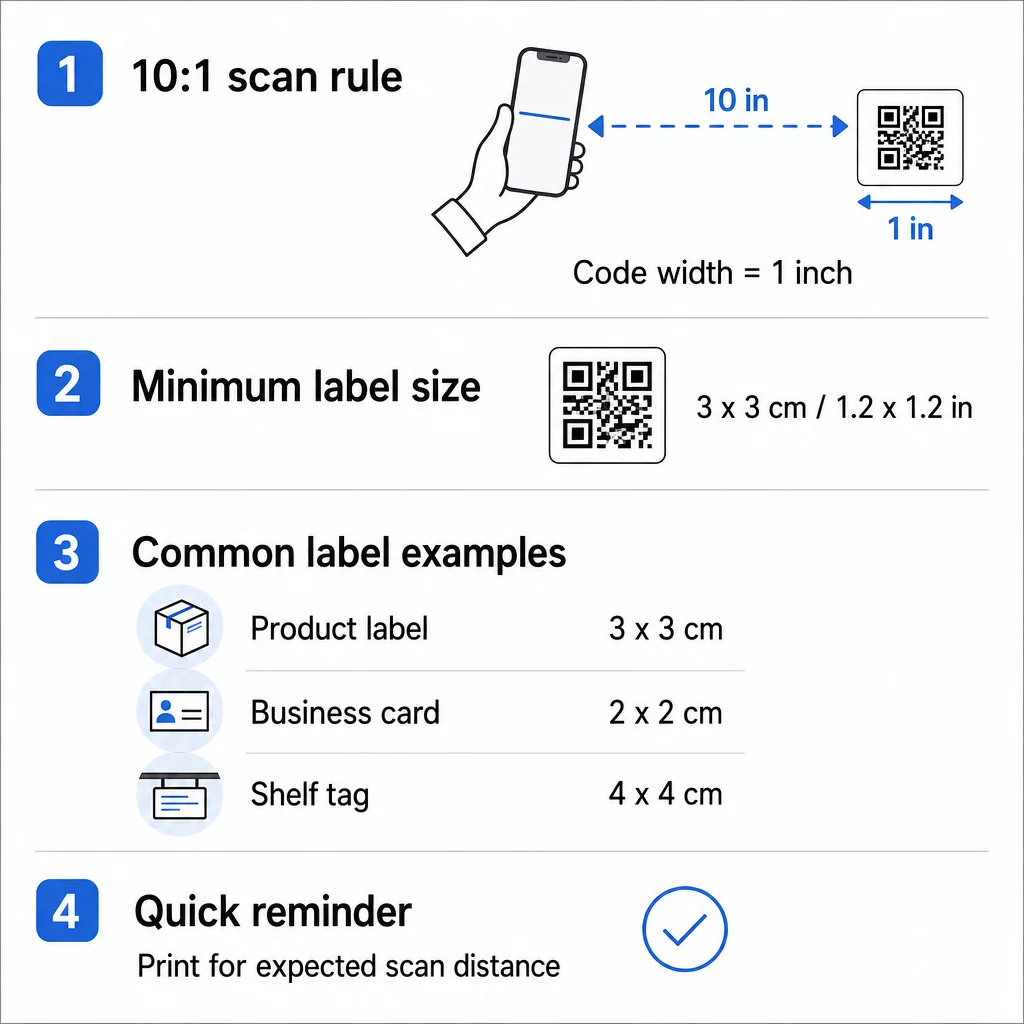
For a quick reference across common label types:
| Label Type | Recommended Minimum Size | Typical Scanning Distance |
|---|---|---|
| Small product label | 1.2 × 1.2 in (3 × 3 cm) | 8–12 inches |
| Business card | 0.8 × 0.8 in (2 × 2 cm) | 6–10 inches |
| Shelf tag / hang tag | 1.5 × 1.5 in (4 × 4 cm) | 12–18 inches |
| Shipping label / carton | 2 × 2 in (5 × 5 cm) | 18–24 inches |
For a deeper look at sizing across different materials, see the QR code sizing guide for print materials.
Use the Correct Print Resolution
Resolution determines how crisply the code’s modules print. A blurry or jagged module edge can trip up a scanner the same way smudged text trips up a human reader.
For label printing, 300 DPI is the practical minimum – at this resolution, individual modules have clean edges that scanners can reliably distinguish. Dropping below 200 DPI introduces visible artifacts that reduce scannability, particularly for codes with high data density. If you are printing a small label where the QR code is under 1 inch wide, push your resolution to 600 DPI to compensate for the reduced module size.
When exporting from Pageloot or any design tool, always request the highest available resolution or use vector formats (SVG, EPS, PDF) that render crisply at any output size. For a full breakdown of resolution settings, the QR code print resolution guide covers specific DPI recommendations by use case.
Maintain Strong Color Contrast

A QR code scanner works by detecting the contrast between dark modules and a light background. If that contrast is weak, the scanner struggles to distinguish the pattern – regardless of how well the code is sized or printed.
The safest choice is black modules on a white background, which delivers a 21:1 contrast ratio. You can use brand colors, but the foreground must remain significantly darker than the background. Aim for at least a 4:1 contrast ratio for small codes and a minimum of 3:1 for larger ones. Avoid gradients, shadows, or reversed color schemes (light modules on a dark background), as these confuse many scanner algorithms.
A few practical contrast rules to follow:
- Keep the module color dark (navy, dark green, and black all work well)
- Keep the background light (white, light gray, or cream)
- Never use yellow, light orange, or light gray as the module color
- Test any custom color combination by scanning a printed proof before full production
For detailed guidance on color pairings and contrast ratios, see QR code color contrast best practices.
Preserve the Quiet Zone
Every QR code requires a quiet zone – a clear, unprinted margin surrounding the entire code on all four sides. This empty border tells the scanner where the code begins and ends. Without it, nearby text, graphics, or label edges bleed into the code pattern and cause scan failures.
The ISO standard requires at least 4 modules of quiet zone on each side. In practical terms, if each module in your code is 1 mm wide, you need at least 4 mm of empty space on every side. When placing your QR code in a label template, treat the quiet zone as untouchable – do not overlay a logo, place text, or bleed the label edge into it.
Choose the Right Label Material and Printer

The substrate you print on affects scannability just as much as the code itself. Matte paper and matte polypropylene labels give the best results because they absorb ink evenly and avoid glare. Glossy or laminated finishes can cause specular reflection under certain lighting, which washes out modules and reduces contrast.
For environments where labels face moisture, abrasion, or outdoor exposure, use durable-grade label stock. A code that starts perfectly scannable but fades or peels within weeks defeats the purpose.
On the printer side, the choice of method matters:
- Inkjet and laser desktop printers work well for small runs and office printing, provided you use label-grade media and print at 300 DPI or higher
- Thermal transfer printers (common in warehouse and retail labeling) produce sharp, durable output at high speeds – ideal for inventory or shipping labels
- Direct thermal printers are economical for short-lived labels but are sensitive to heat and UV exposure, which can degrade the print over time
- Commercial offset and digital presses are the right choice for large production runs where consistent sharpness across thousands of labels is essential
For a deeper look at how each method affects scannability, see how printing techniques impact QR code scannability.
Add Branding Without Breaking Scannability
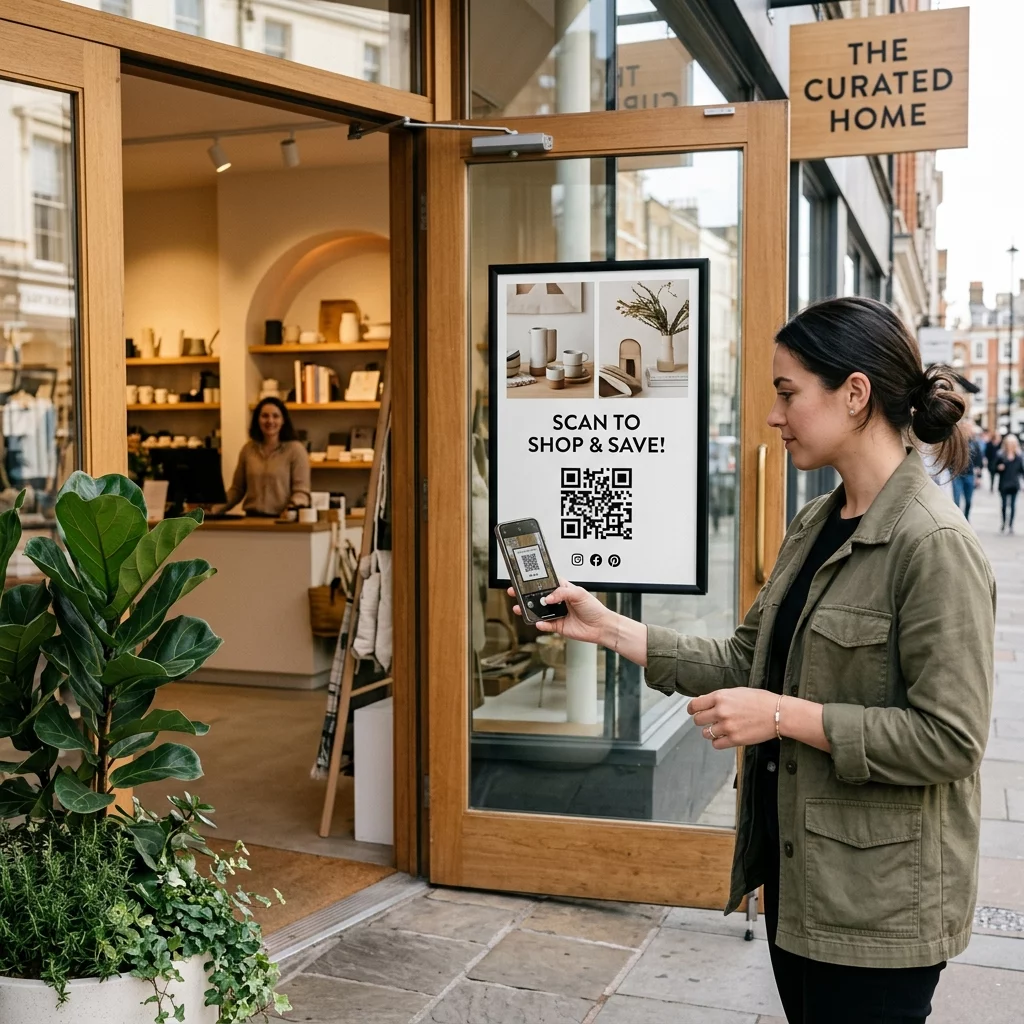
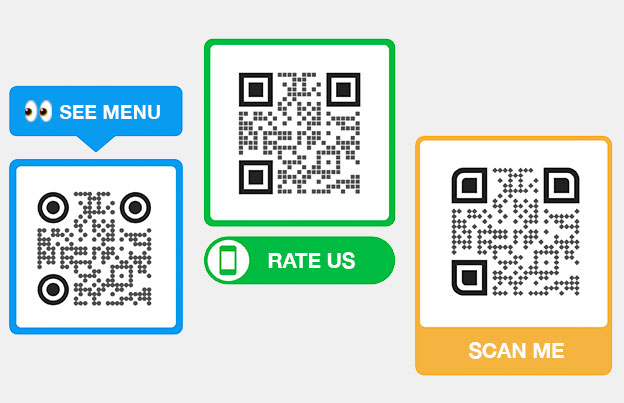
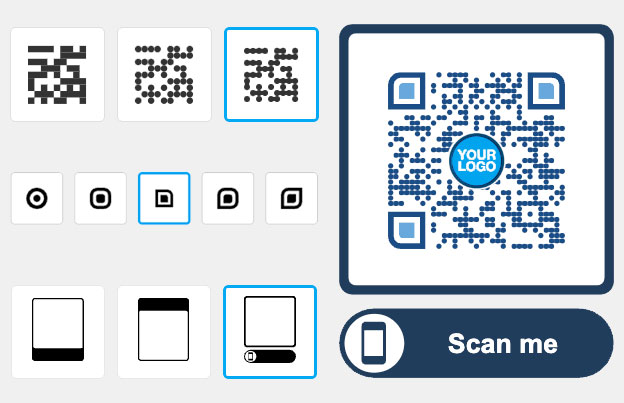
A plain black-and-white QR code works, but a branded one is more likely to be scanned because it signals trust and intent. You can add your logo to the center of the code, apply brand colors, and include a short call-to-action phrase such as “Scan for details” or “Scan to reorder.”
The key constraint is that a logo should not cover more than roughly 30% of the code area. QR codes are built with error correction that can recover from partial data loss, but exceeding that threshold risks scan failures. Use the highest error correction level (H) when embedding a logo, and always test the final design before printing. Pageloot’s QR code generator with logo handles error correction automatically and provides a real-time preview so you can verify scannability as you design.
Test Before You Commit to a Full Print Run
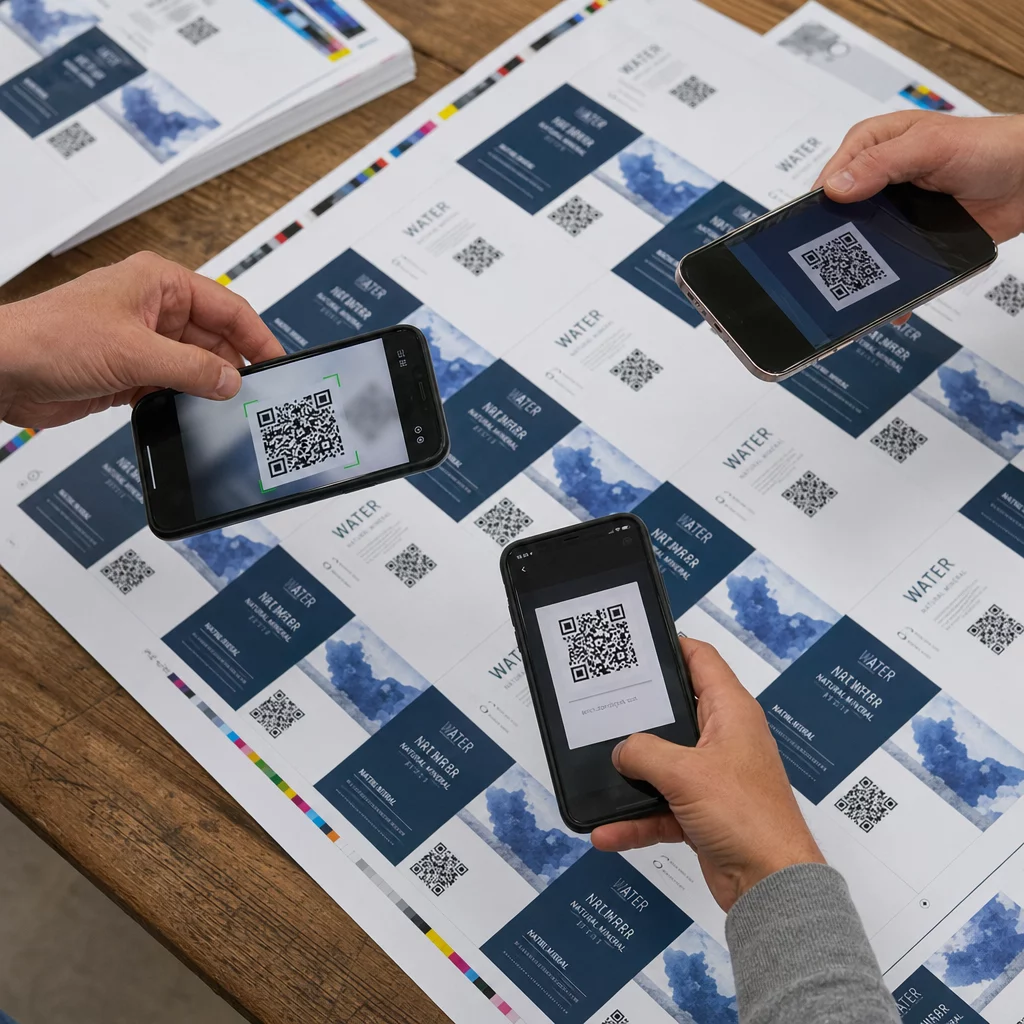
Even a perfectly configured QR code can fail if the actual printed output has issues – ink spread, substrate bleed, or module distortion. Always print a proof and test it with multiple devices before running your full label batch.
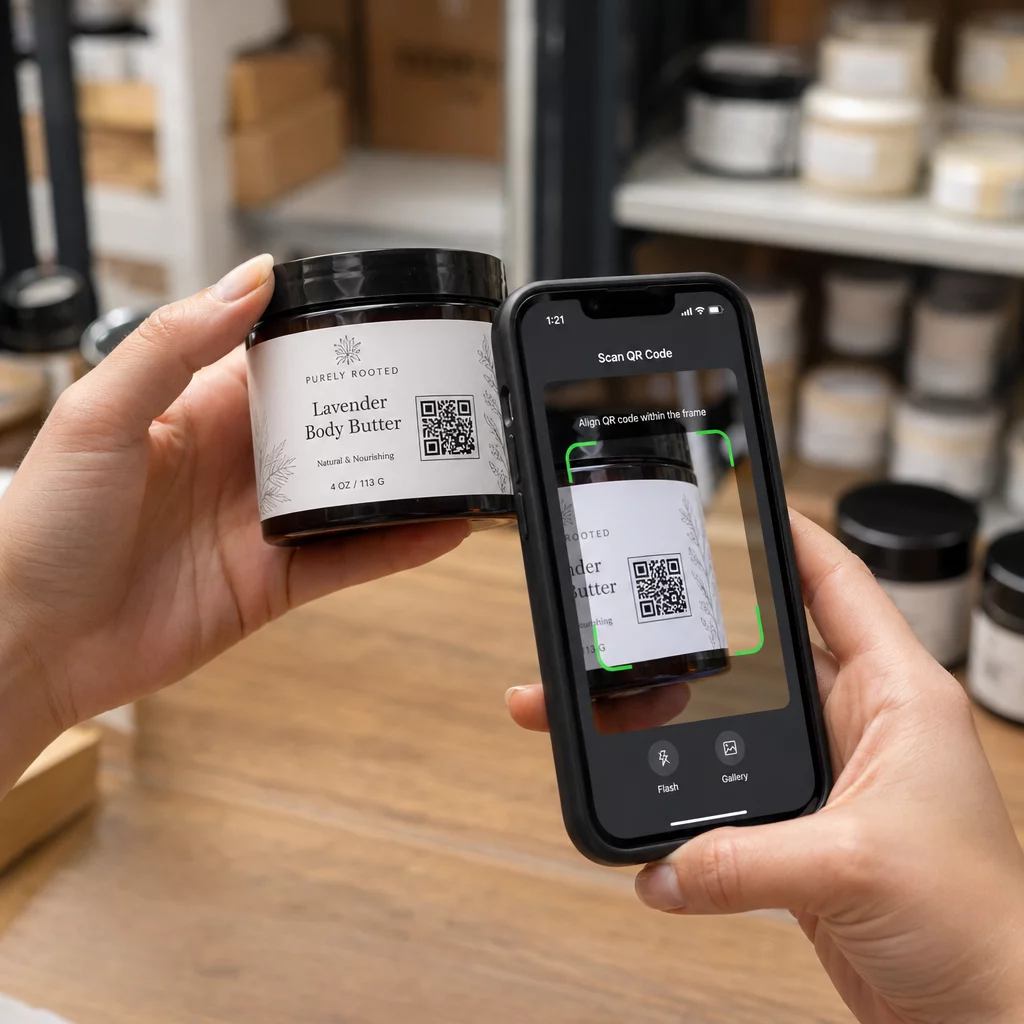
Use the Pageloot QR code scanner or your phone’s native camera app to test under real conditions: the same lighting environment where the label will actually be read, at the expected scanning distance, and with the code held at realistic angles. If the code fails on any device, revisit your resolution, contrast, or size settings before printing at scale.
For a complete checklist of design and placement considerations, the guide to QR codes for product labels covers common failure points across label types.
Track Every Scan From Your Labels Want to know which products are getting scanned, where, and how often? Pageloot’s dynamic QR codes give you a full analytics dashboard – and let you update your label’s destination without ever reprinting.
Getting a QR code onto a label correctly comes down to a consistent process: export at vector or high resolution, size to your scanning distance, maintain strong contrast, preserve the quiet zone, and test on real material before a full run. Follow these steps and your printed codes will scan reliably from the first label to the last.
Frequently Asked Questions
The recommended minimum is 3 × 3 cm (1.2 × 1.2 inches) for most product labels. For compact labels like business cards, 0.8 × 0.8 inches can work if scanning conditions are good. Use the 10:1 rule as your guide: make the code at least 1/10th the expected scanning distance.
Use a vector format – SVG, EPS, or PDF – whenever possible. These scale to any print size without losing sharpness. If you need a raster format like PNG, export at the highest available resolution and print at 300 DPI or higher to keep module edges clean.
The most common causes are insufficient print resolution (below 300 DPI), low contrast between the code and the label background, a missing or too-narrow quiet zone, or a glossy label finish causing glare. Print a test proof, check all four factors, and scan under the same lighting conditions customers will use.


